Getting Started

Getting Started with BBoxML

Go from a blank account to your first downloadable dataset in six short steps.

Back to homeUse the same flow for any new dataset

Workflow

You only need one simple loop the first time.

1Project
2Upload
3Class
4Label
5Version
6Download

After upload, your project opens into the dataset view. From there, open an image to start labeling.

BBoxML dataset view showing uploaded driving images.
Dataset view after upload
Step 1

Create Your First Project

After signing in, you'll be taken to the Project Dashboard.

  1. 1Click New Project.
  2. 2Name it.
  3. 3Click Create Project.
Step 2

Upload Your First Image

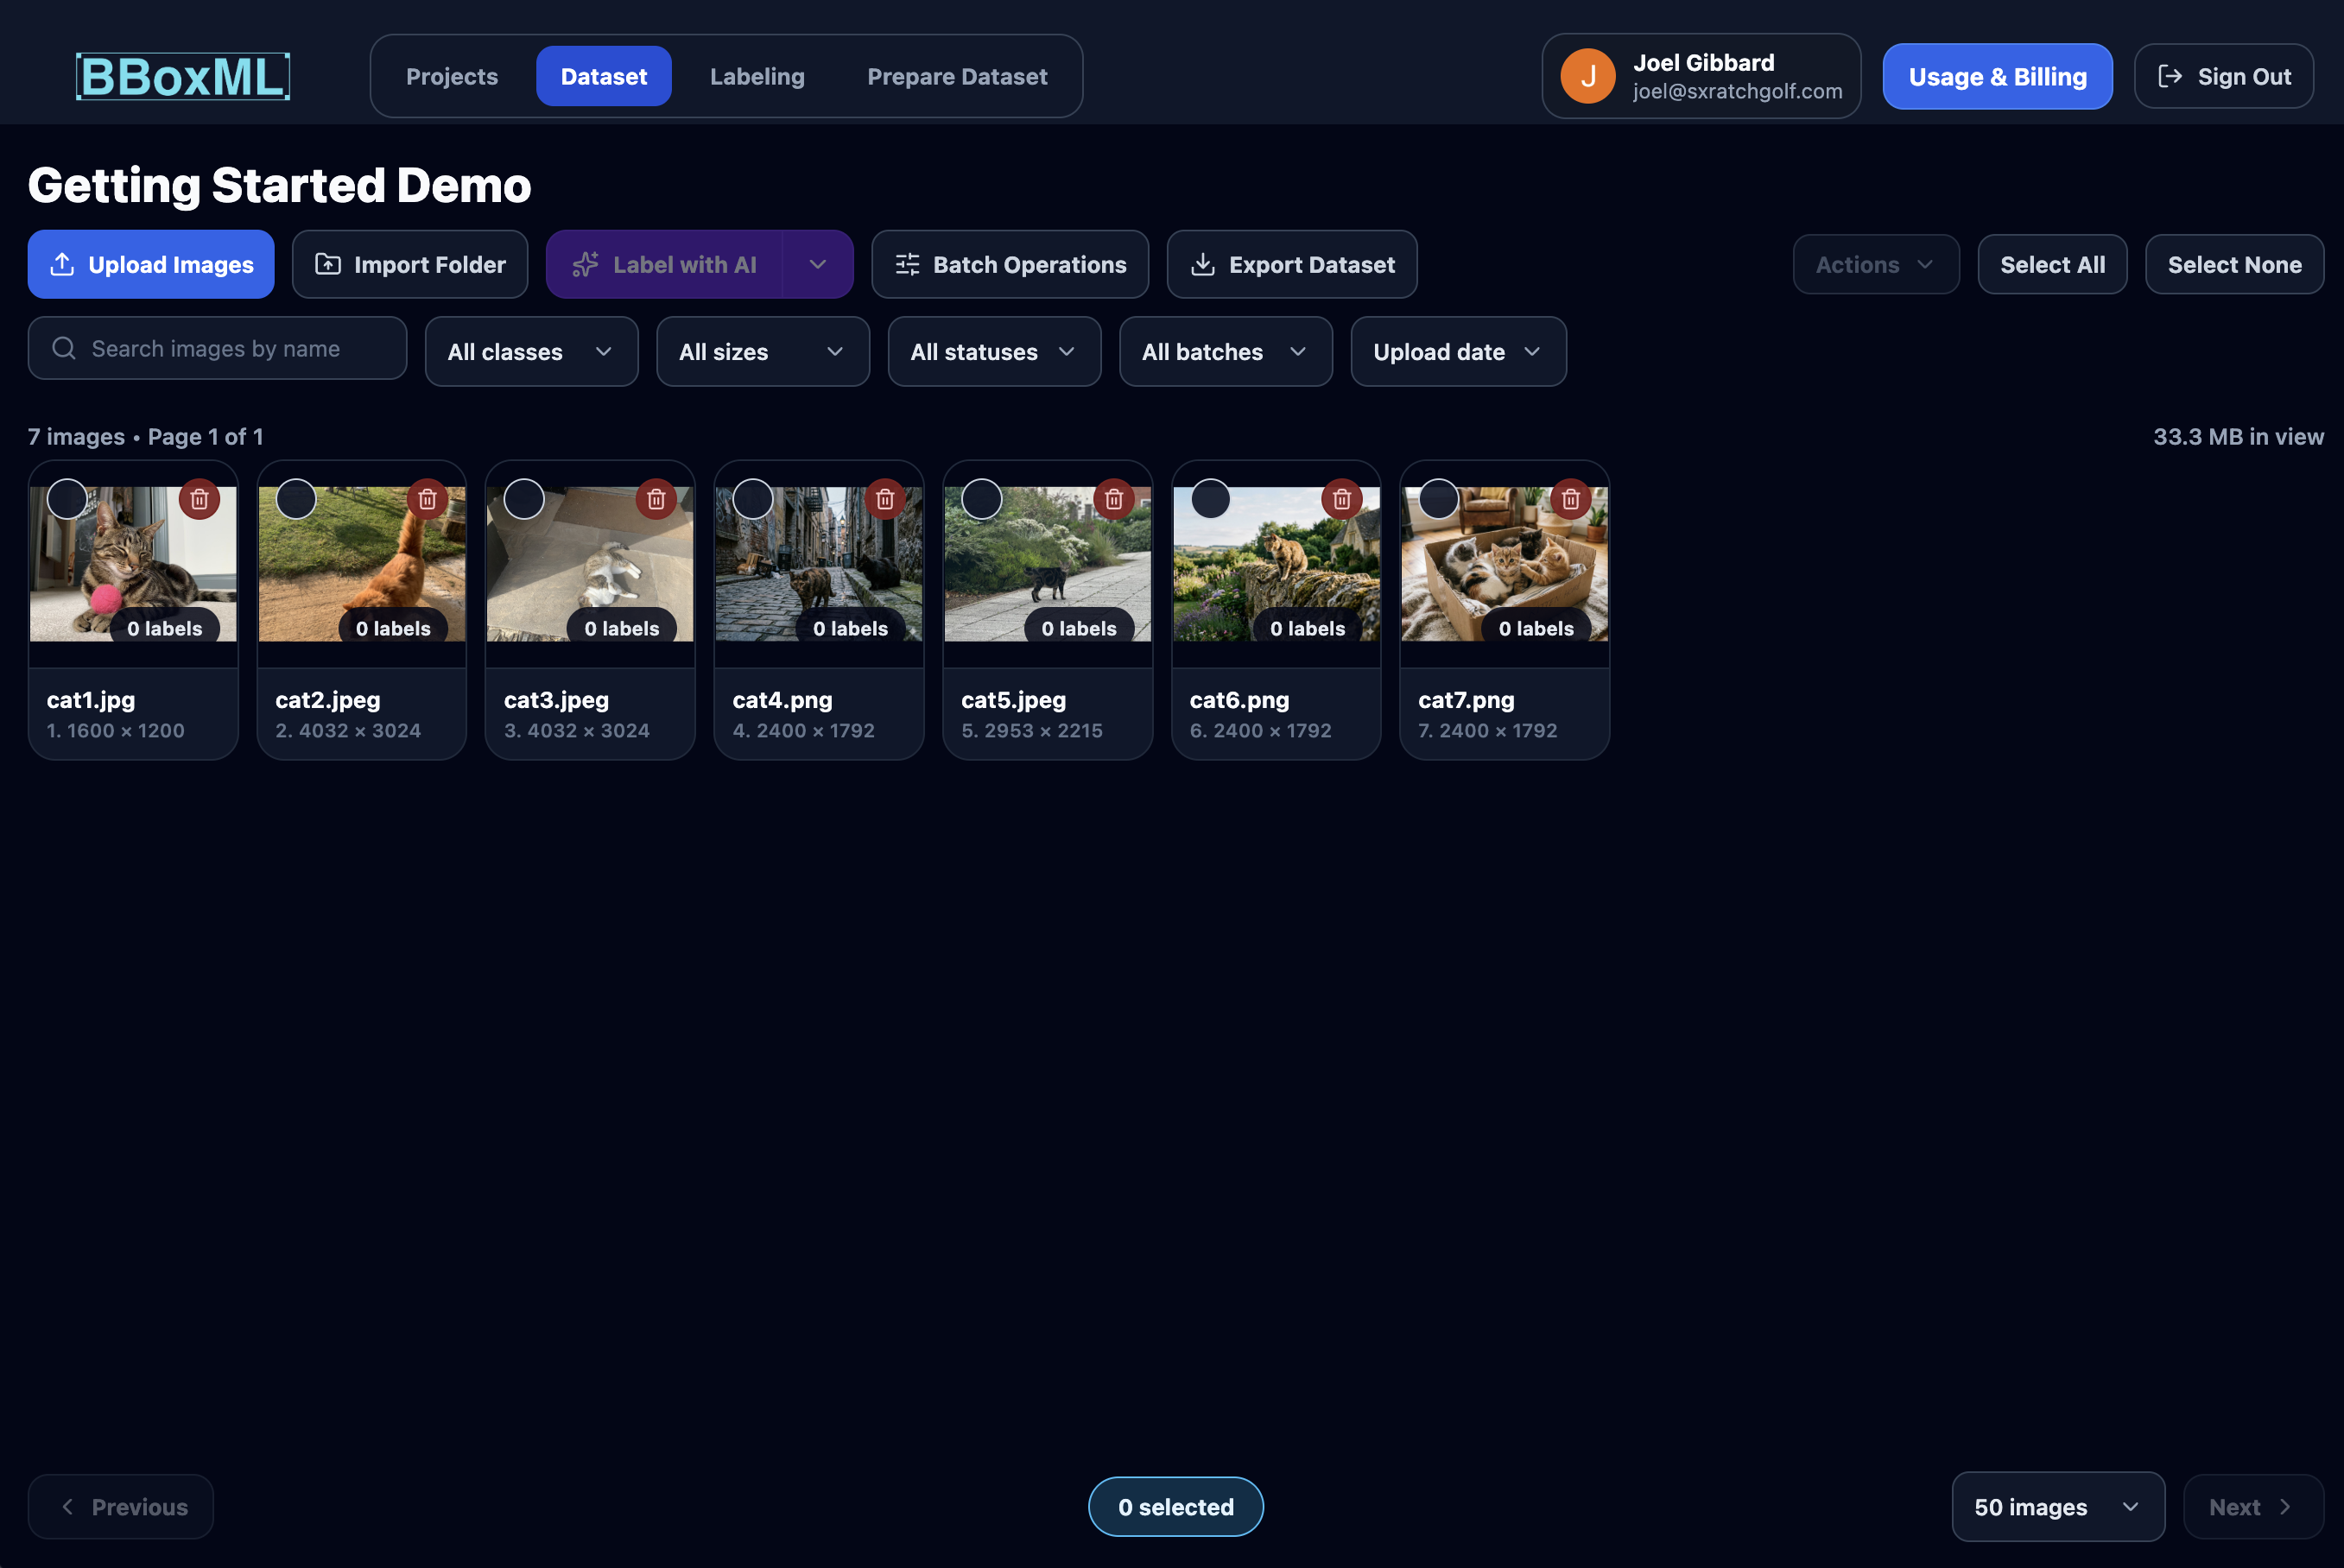
Add a few images to it.

  1. 1Click Upload Images.
  2. 2Choose Select Images.
  3. 3Select your images.
Step 3

Create Your First Class

Open one image and add a class.

  1. 1Open the project, then open any image.
  2. 2Click the plus icon.
  3. 3Rename and choose colors.
Step 4

Label Your First Image

Draw one box and save the label.

  1. 1Select your class.
  2. 2Click and drag over the object.
  3. 3Release to save the box.
Step 5

Prepare A Dataset Version

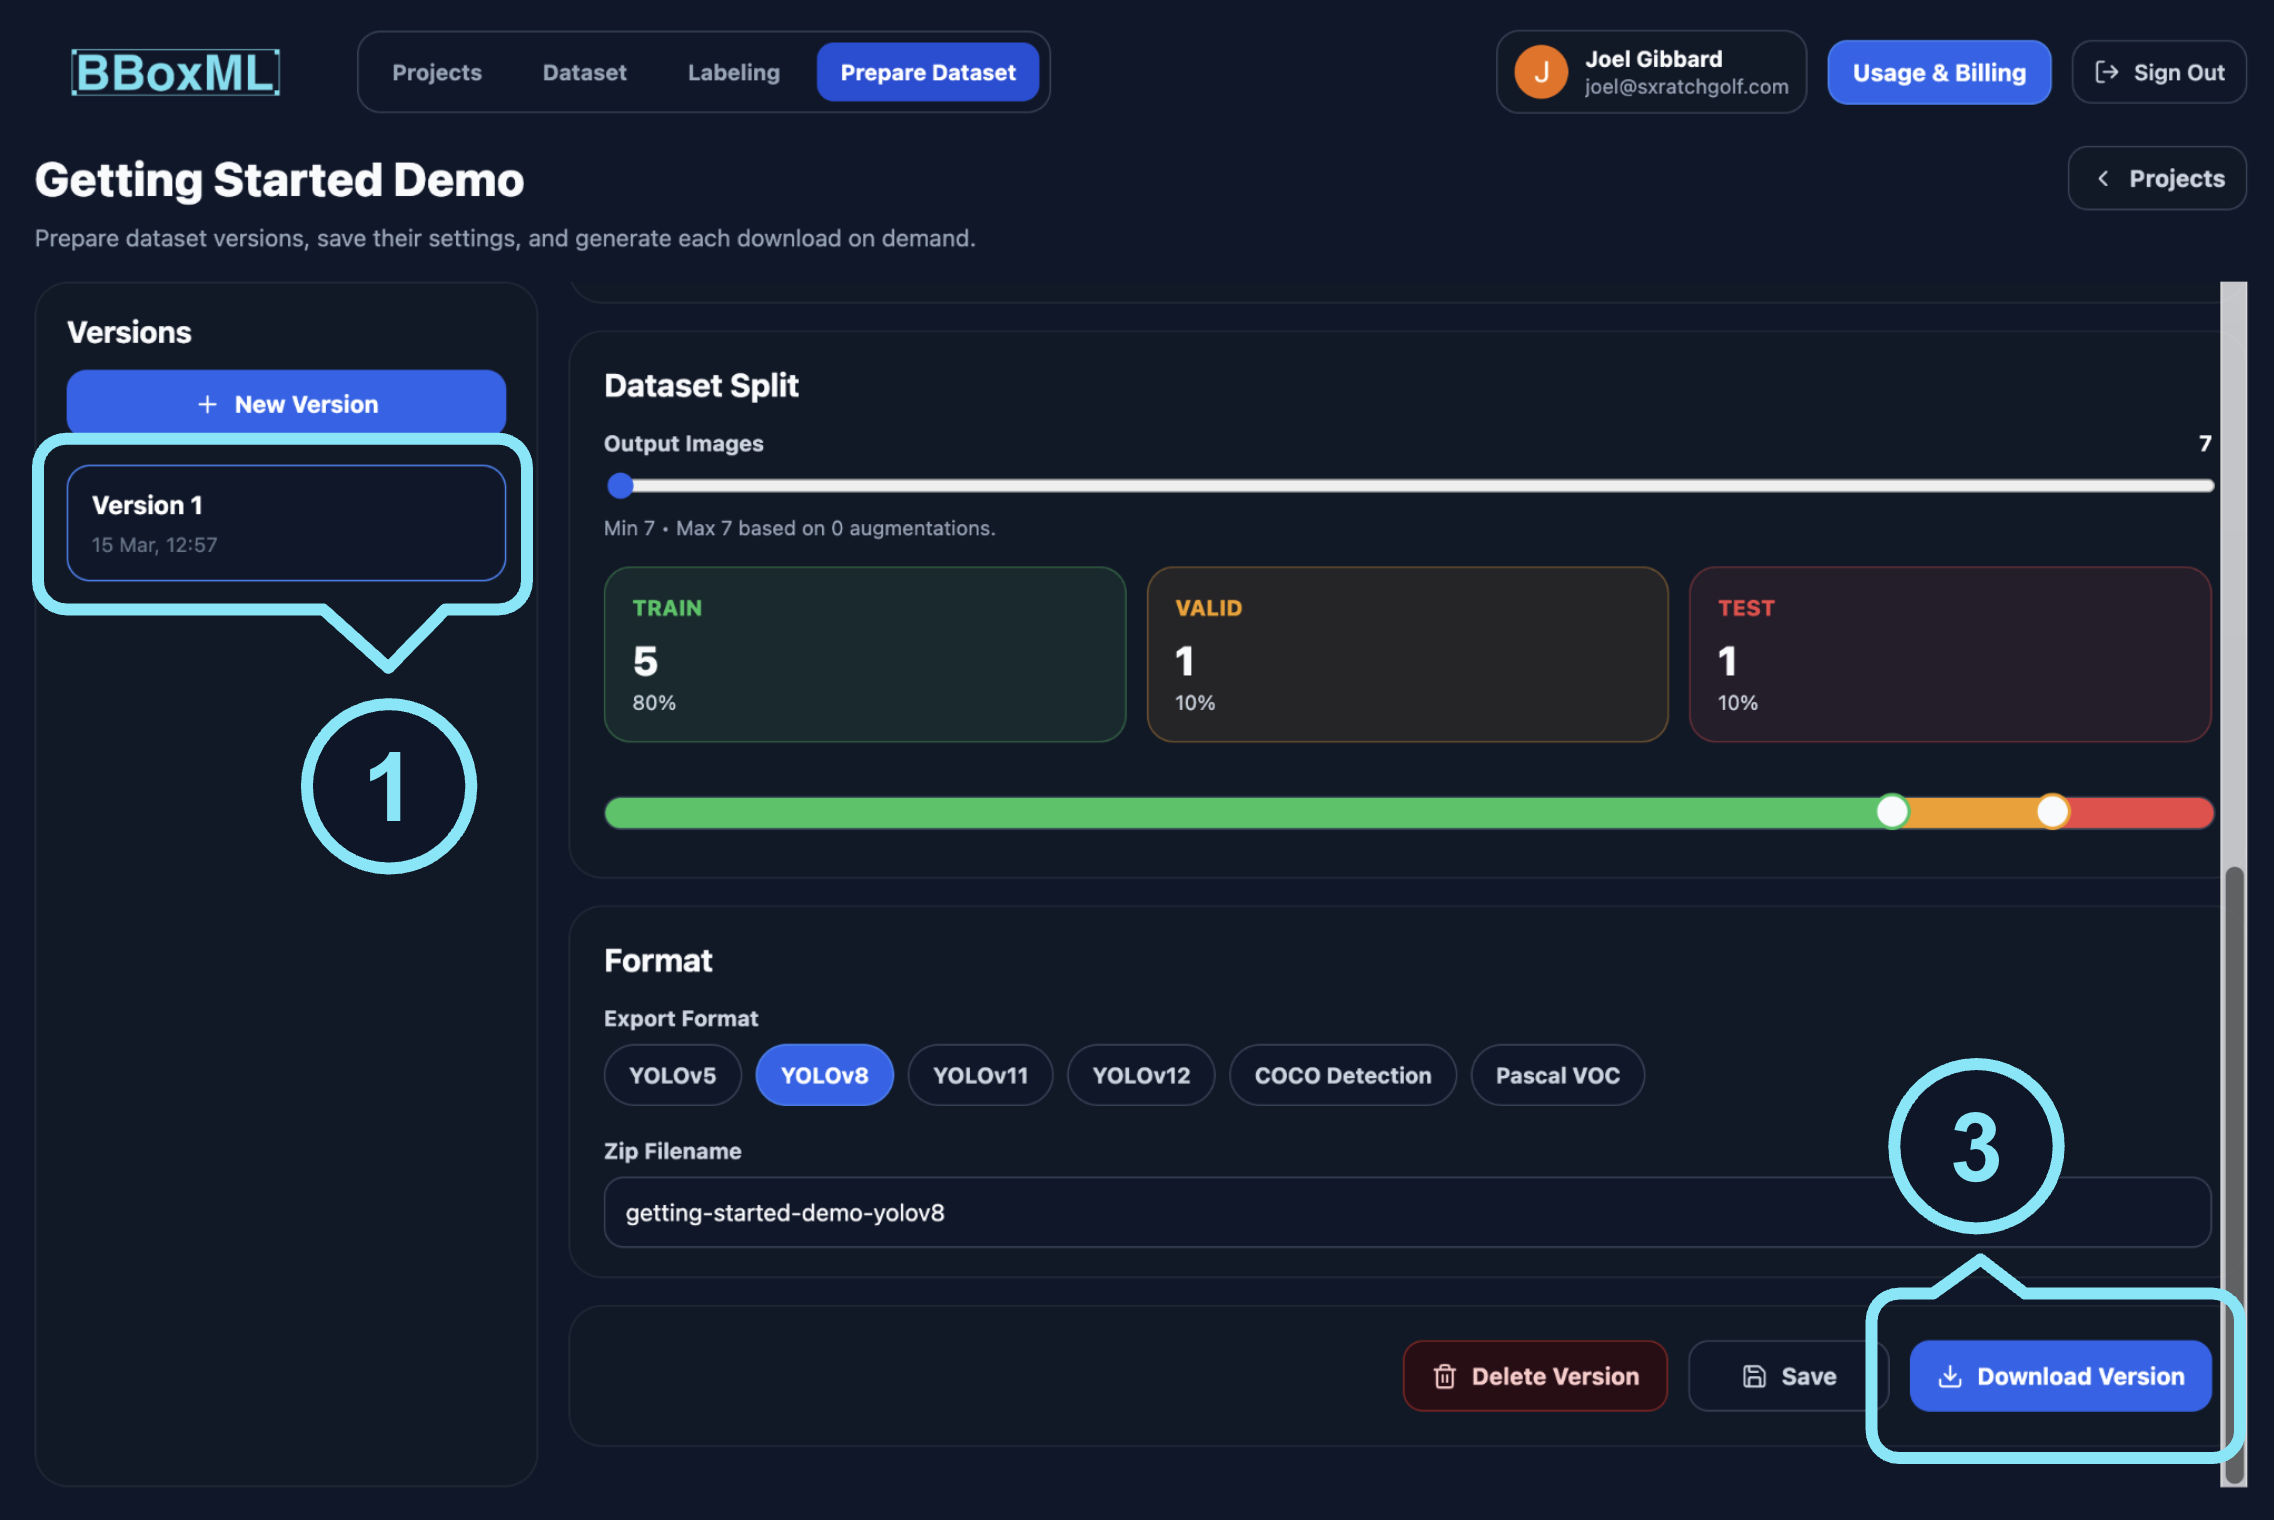
Turn the project into a saved dataset version.

  1. 1Open Prepare Dataset.
  2. 2Create a new export version.
  3. 3Click Save Version.
Step 6

Download Your Dataset

Export the version as a zip.

  1. 1Select the saved version.
  2. 2Leave the defaults or adjust them.
  3. 3Click Download Version.
BBoxML Prepare Dataset view with a saved version and Download Version button.